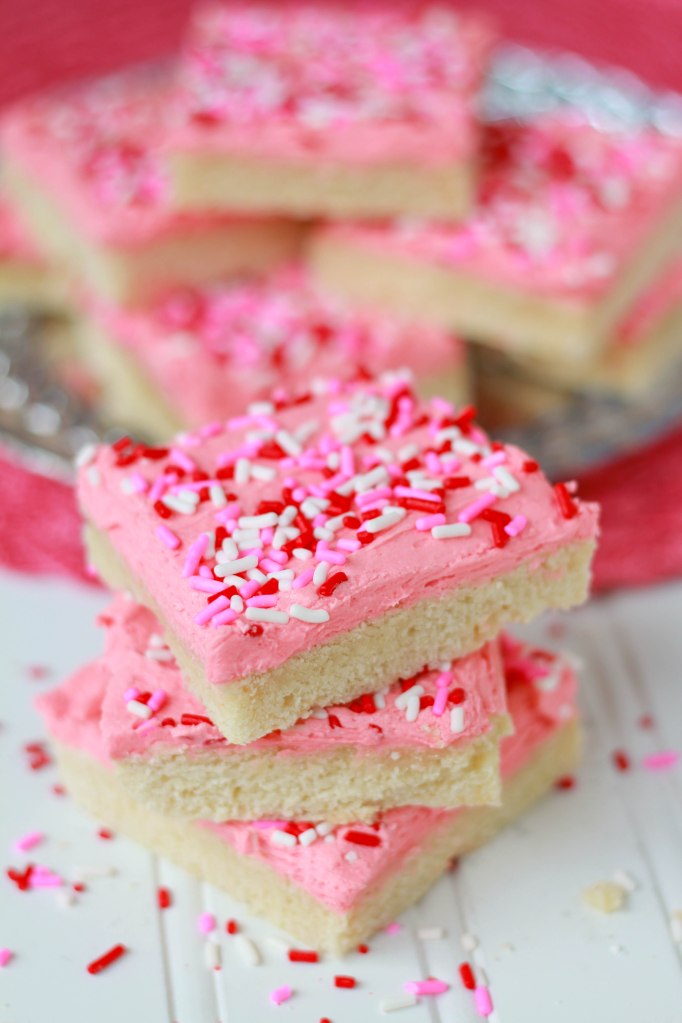
Soft Sugar Cookie Bars

sugar cookie bars
These bars totally surpassed my expectations. They are so easy and so delicious. If you like sugar cookies (who doesn’t?!), you have to try these. Sugar cookie dough gets pressed into a pan and baked, then topped with buttercream frosting and sprinkles. The beauty of the this recipe is that you don’t have to roll out the cookie dough or bake and frost individual cookies. This recipe is so simple, it’s practically foolproof.
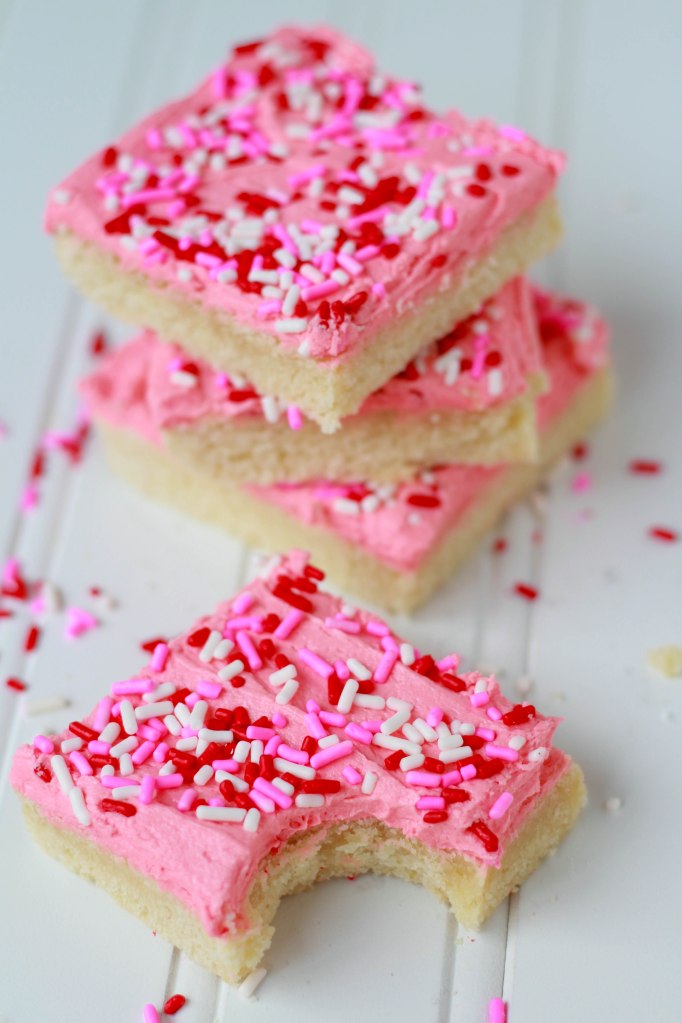
I was worried that these bars would end up dry but they didn’t. They came out perfectly and I made sure to under bake them just slightly so they would stay soft.You can decorate these with any color frosting or sprinkles you like. You can even leave out the food coloring and sprinkles and you’ll have perfect sugar cookie bars with pure white frosting. However you decorate them, I hope you enjoy them as much as we did.
sugar cookie bars 2
Soft Sugar Cookie Bars
Makes one 9×13 pan

For the bars:
1 stick butter, softened
1 cup granulated sugar
1 egg
1 egg white
1 heaping tablespoon sour cream
1 teaspoon pure vanilla extract
1 teaspoon almond extract
2 1/2 cups all purpose flour
1/2 teaspoon baking powder
1/2 teaspoon salt

For the frosting:
1 stick butter, softened
2 heaping cups powdered sugar
2 tablespoons milk, half and half or cream
1/2 teaspoon pure vanilla extract
a few drops of food coloring, optional
sprinkles, optional

For the bars:
Preheat oven to 375. Butter or spray a 9×13 baking pan and set it aside.

Beat butter and sugar for several minutes, until light and fluffy. Add egg, egg white, sour cream and extracts and beat until thoroughly combined. The mixture might look slightly curdled.

In a separate bowl, combine flour, baking powder and salt. With your mixer on low, add flour to the butter mixture, mixing until just combined.

Dump the dough into the prepared pan and use your fingers to evenly press it into the pan. Bake for about 15 minutes, until the top appears dry and the edges are just starting to turn light brown. Rotate the pan halfway through the baking time if your oven does not bake evenly. Make sure not to over bake these, as they will continue to cook a little after you remove them from the oven. Cool the bars completely before frosting them.

For the frosting:
Beat butter and powdered sugar for several minutes until light and fluffy. Add milk, extract and food coloring (if using) and beat for several more minutes. Use an offset spatula or butter knife to spread the frosting over the cooled bars. Top with sprinkles and slice into squares.

Recipe adapted from The Baker Chick

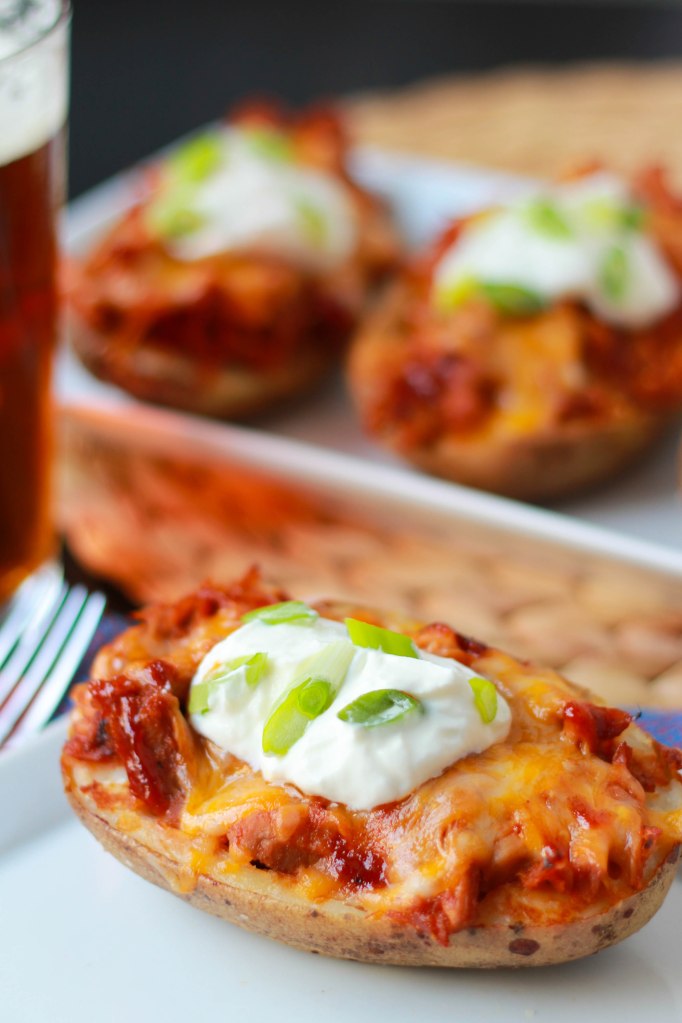
BBQ Pulled Pork Potato Skins

potato skins
These potato skins have graduated from appetizer to main dish status. Although they still resemble a typical potato skin, they are stuffed with BBQ pulled pork, which makes them super hearty and filling. They make great game day food, but they are also great paired with a salad for an any-day-of-the-week dinner.

This recipe is super versatile. You can stuff these with whatever kind of BBQ meat you like. You can use chicken or beef instead of pork. You can use store bought, restaurant bought or homemade. I used this recipe (with half the meat and a full recipe of sauce). Just make sure that you stuff your potatoes with meat that is already warm, so that they won’t have to stay in the oven too long. Also, I like meat with a substantial amount of sauce to help the potato skins from getting dry.

BBQ Pulled Pork Potato Skins
Makes 8 generous potato skins

2 pounds cooked BBQ pulled pork, store bought or homemade (see notes above)
4 medium russet potatoes, scrubbed clean
1 tablespoon canola oil
2 tablespoons butter, melted
salt
2 cups grated cheddar cheese
optional garnishes: sour cream, sliced green onion, cooked crumbled bacon, ranch dressing

Preheat oven to 400. Rub the potatoes with canola oil and place on a baking sheet. Cook for approximately 45 minutes, until the potatoes are tender and cooked through. Remove from the oven and allow them to cool enough to handle.

Cut the potatoes in half lengthwise and scoop out some of the flesh, making sure that you leave at least a 1/4 inch border around the outside. Brush the inside and the outside of the potato skins with melted butter and sprinkle with salt. Place cut side down on a baking sheet and return to the oven for 7 more minutes to help the skins crisp slightly.

Remove potato skins from the oven and fill with pulled pork. Top with grated cheese and return to the oven for a few more minutes to melt the cheese.

Once the cheese is melted, remove from the oven. Serve immediately, garnished with sour cream, green onions, crumbled bacon or ranch dressing.

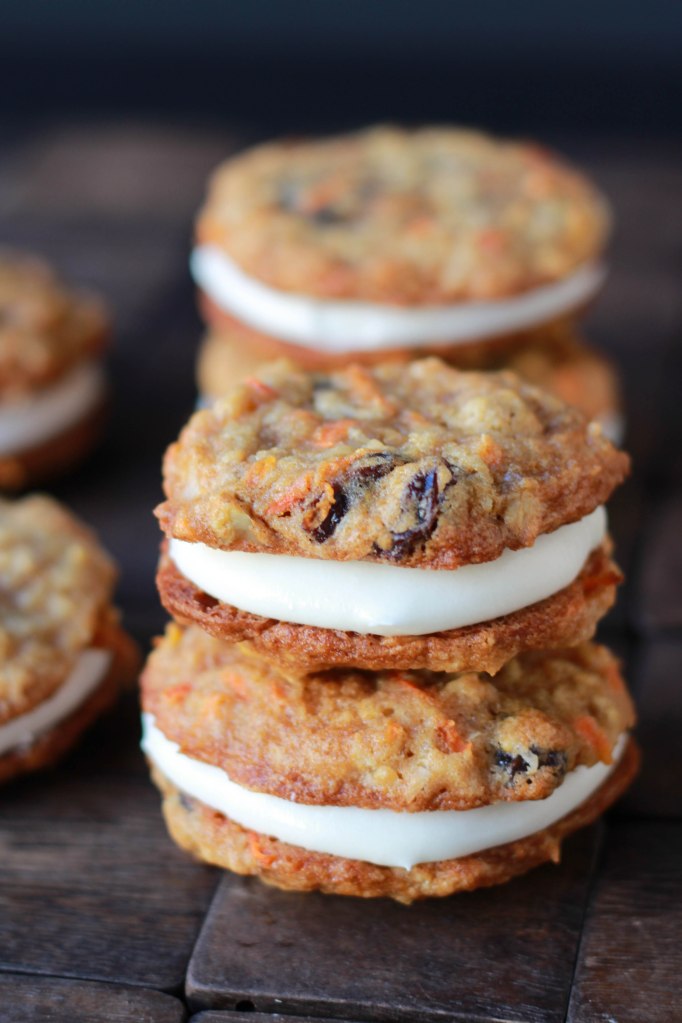
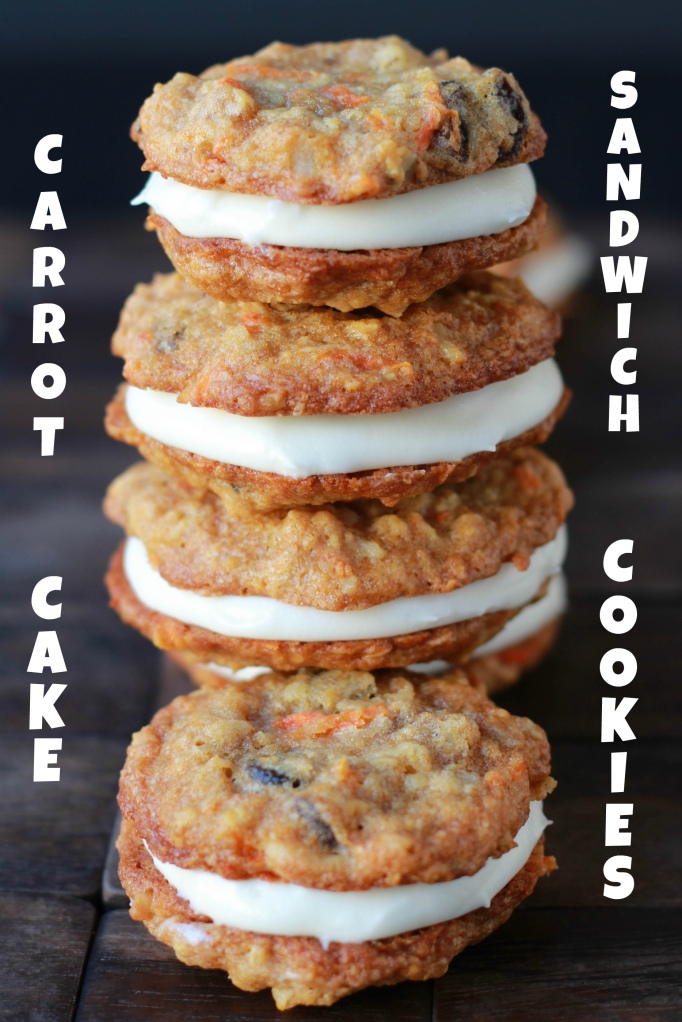
Carrot Cake Sandwich Cookies

carrot cake cookies 1
Let’s be honest with each other … the best part of carrot cake is the cream cheese frosting, right? It’s sweet and tangy, rich and indulgent and so darn good. This recipe takes all the flavors of carrot cake (carrots, cinnamon, raisins, walnuts, coconut) and loads them into a  soft and chewy cookie that is then sandwiched with a hefty dose of cream cheese frosting. These cookies are faster and easier than making a whole carrot cake. They are easily portable and they can be eaten with one hand. No plate or fork needed. Friends, this recipe is a dangerously delicious thing. If you like carrot cake (or cream cheese frosting!), you have to try these. You will not be disappointed.

A few notes about the recipe: The original recipe yields 2 dozen large sandwich cookies. I cut the recipe in half and I reduced the size of cookies. Since one sandwich  is made up of two cookies and a generous amount of frosting, I find that smaller cookies are better. Also, when dropping your dough onto the baking sheets, you need to make sure that your dough is all the same size. You want the cookies to bake up evenly so that when you sandwich them, the top and bottom halves are similar in size. For this recipe, I used a 2 teaspoon cookie scoop.
carrot cake cookies
Carrot Cake Sandwich Cookies
Makes 15 sandwich cookies

For the cookies:
1 stick butter, softened
1/2 cup brown sugar, packed
1/2 cup granulated sugar
1 teaspoon pure vanilla extract
1 egg
1 cup all purpose flour
1/2 teaspoon baking soda
1/2 teaspoon baking powder
3/4 teaspoon ground cinnamon
1/4 teaspoon salt
1/2 cup rolled oats
1/2 cup sweetened shredded coconut
1/2 cup raisins
3/4 cup grated carrots
1/2 cup chopped walnuts

For the cream cheese frosting:
4 ounces cream cheese, softened
4 tablespoons (1/2 stick) butter, softened
1 heaping cup powdered sugar
1/4 teaspoon pure vanilla extract

For the cookies:
Beat butter and sugars for several minutes until light and fluffy. Add egg and vanilla and beat to combine, scraping the bowl if necessary.

In a separate bowl, combine flour, baking soda, baking powder, cinnamon and salt. Add the flour mixture to the butter mixture and beat on low until just combined. Stir in the oats, coconut, raisins, carrots and walnuts by hand. Place dough in the refrigerator for 30 minutes to firm up.

Meanwhile, preheat the oven to 350. Line two baking sheets with parchment paper or  silicone liners.

Scoop the dough into evenly sized mounds and place a couple inches apart on the cookie sheets. I used a 2 teaspoon  scoop to ensure that each cookie would be similar in size. This is important, since the cookies will be sandwiched.

Bake for 9-11 minutes, until golden brown and still slightly soft in the center. Rotate your cookie sheets halfway through the baking time to ensure even baking. Cool the cookies completely on the baking sheets and fill with frosting.

For the frosting:
Beat cream cheese and butter for several minutes, until combined. Add powdered sugar and vanilla extract. Beat for a couple more minutes until smooth and creamy. If the frosting appears too thin, place it in the refrigerator for 20 minutes to slightly firm it up.

The sandwiched cookies can be stored in an airtight container at room temp or in the fridge.

Recipe adapted from Cooking Channel

See also: Oatmeal Cream Pies

OCP 1

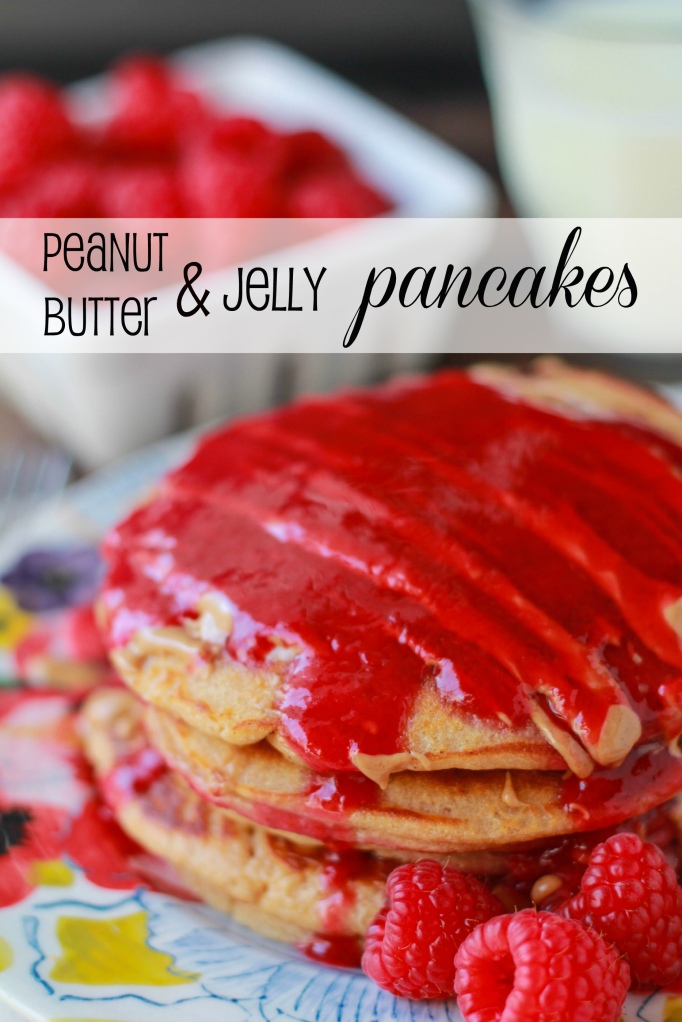
Peanut Butter and Jelly Pancakes

pb&j pancakes
I love how food has the ability to bring back memories. Whether vague or detailed, certain foods are undoubtedly associated with certain periods of your life. For many of us, peanut butter and jelly sandwiches are the quintessential “kid food.” As an adult, there is something deliciously nostalgic about biting into a peanut butter and jelly sandwich. Although I rarely eat a pb & j, I love that this recipe is a fun twist on a traditional favorite. I would bet the adults and kids in your house will both love these!
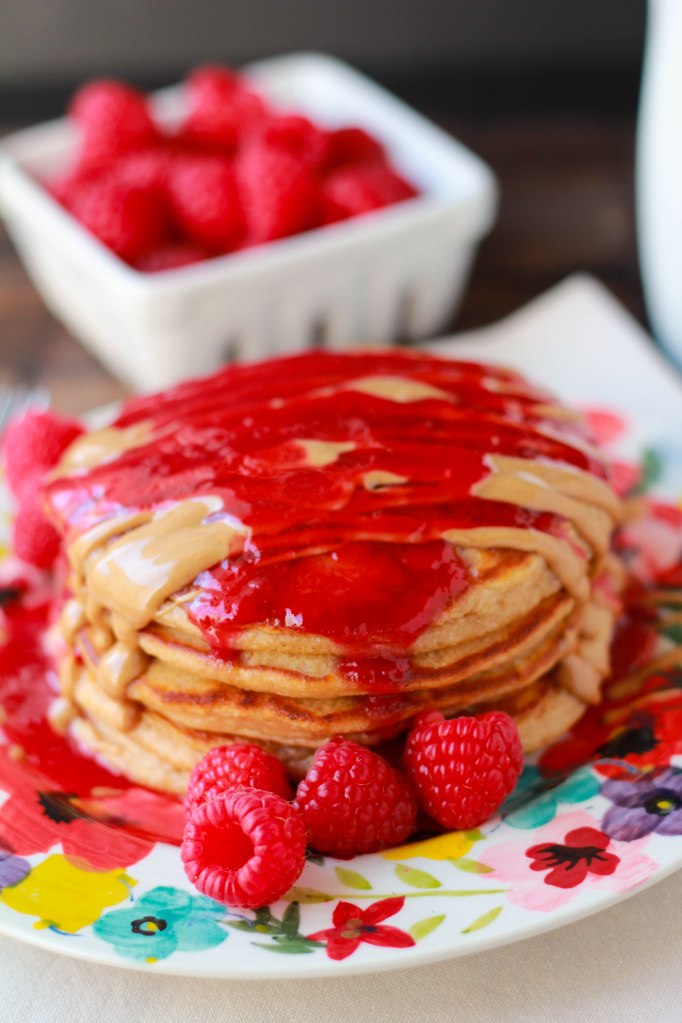
These fluffy and moist peanut butter pancakes are topped with a homemade berry syrup. The combo of berry syrup and peanut butter gives the unmistakable pb & j flavor combination that we all know. You can make any type of berry syrup that you like best. I chose raspberry but you could also use strawberries, blackberries or blueberries. If you’re feeling a little lazy you could even skip the homemade syrup and drizzle the pancakes with some store bought jam. Just microwave it for several seconds to thin it out. If you don’t eat peanut butter I would guess that these pancakes would be equally delicious with another type of nut or seed butter. Suit this recipe to your tastes, grab a glass of milk and enjoy!
pb&j pancakes 1
Peanut Butter and Jelly Pancakes
Makes about 12 pancakes

For the pancakes:
1/2 cup peanut butter
1 cup all purpose flour (or 1/2 cup whole wheat and 1/2 cup all purpose)
1 tablespoon baking powder
1/2 teaspoon salt
1 to 2 tablespoons granulated sugar
1 egg
1 cup plus 1 tablespoon milk
2 tablespoons vegetable or canola oil
butter, for greasing your griddle
additional melted peanut butter, for drizzling on top (optional)

For the berry syrup:
2 cups berries – if using strawberries, quarter them
1/4 cup granulated sugar
1/2 cup water
1/4 cup  jam, use the same type of jam as berries

For the pancakes:
Melt the peanut butter in the microwave for 15-30 seconds, until it has thinned out and is melted. Set it aside.

In a large bowl, whisk flour, baking powder, salt and sugar. In another bowl, whisk egg, milk and oil. Add the wet ingredients and the melted peanut butter to the dry ingredients. Stir or whisk until no lumps remain. Let the batter sit for 5 minutes.

Using a 1/4  measuring cup, pour the batter onto a greased skillet or griddle set at medium-low heat. Cook on one side until bubbles form evenly, then flip and cook on the other side until golden brown. Repeat with remaining batter.

Serve pancakes with a drizzle of melted peanut butter and berry syrup.

For the syrup:
Combine all ingredients in a small saucepan and bring to a boil over medium-high heat, stirring occasionally. Reduce heat to low and simmer for 10 minutes. Use a wooden spoon to stir the syrup and break up the berries. Strain the syrup and serve warm.

Pancakes adapted from Sunny Anderson

See also:

Whole Wheat Banana Nutella Pancakes
BN Pancakes-2-2

Pumpkin Pancakes with Pecan Praline Syrup
pumpkin pancakes 1

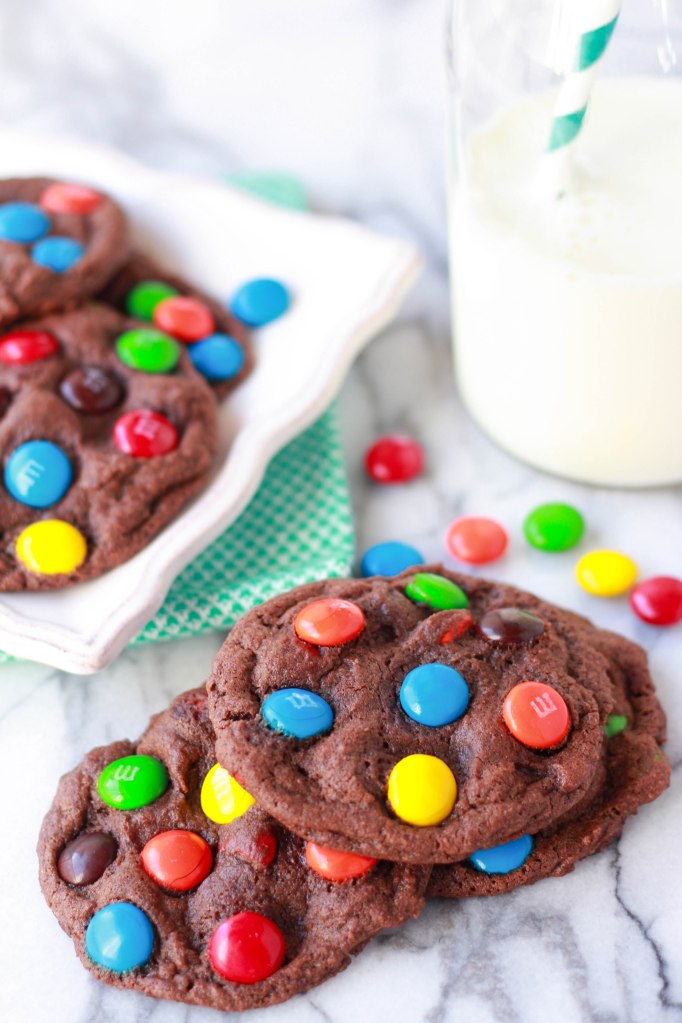
Soft and Chewy Chocolate M&M Cookies

choc m&m cookies
My last three posts have all been healthy recipes, so that means it’s time for something a little more indulgent. I believe eating is all about balance and moderation, and although it’s the start of the new year, I am not about to stop eating chocolate – no way. So, here is a super chocolaty cookie that is soft and chewy and packed with M&M’s. I made some changes to my original M&M cookie recipe and came up with this chocolate version. These are still as delicious as the original but they pack an extra chocolaty punch. I find these cookies to be very rich and I think one cookie is enough to satisfy a sweet or chocolate craving.

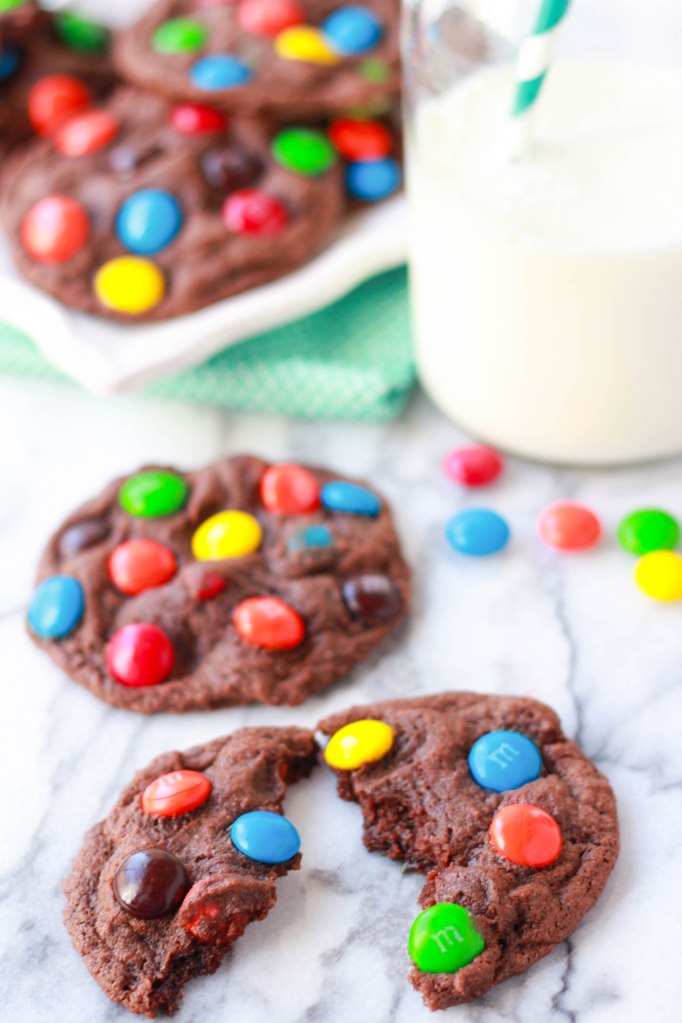
This is a super simple recipe that comes together fast. Just remember, the key to keeping these cookies soft and chewy is not to over bake them. They should just barely be set when you pull them out of the oven. They will finish cooking as they cool on the baking sheets.

If you’re looking for a non-chocolate M&M cookie made with a sugar cookie dough, see my other recipe here.
choc m&m cookies 2
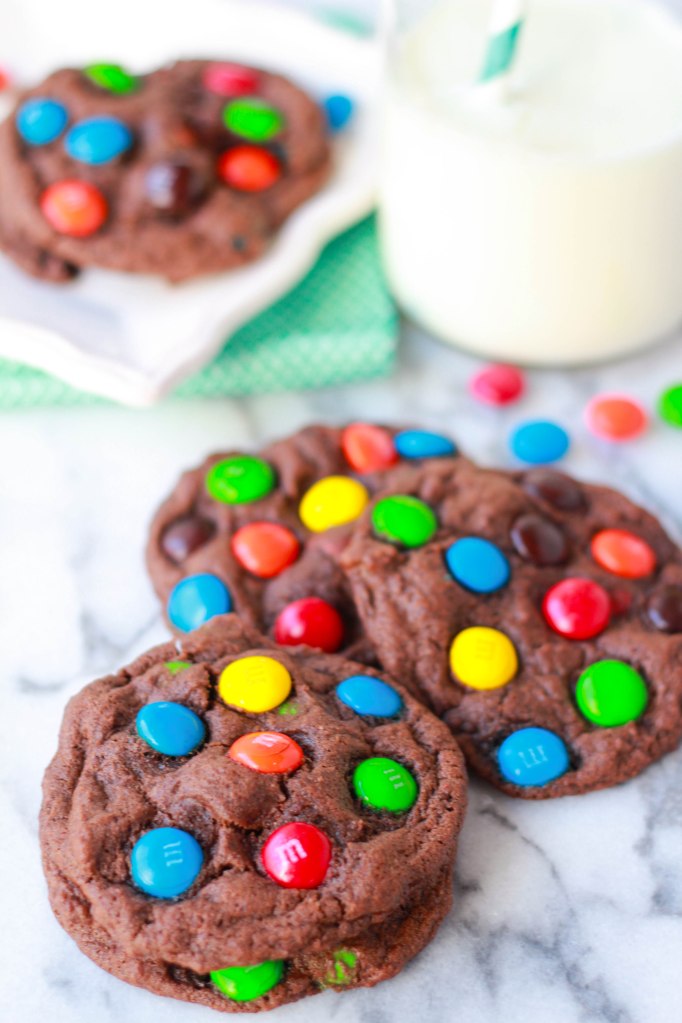
choc m&m cookies 3
Soft and Chewy Chocolate M&M Cookies
Makes about 16 cookies

1 stick butter, slightly softened
1/2 cup granulated sugar
1/2 cup brown sugar
1 egg
2 teaspoons pure vanilla extract
1 cup all purpose flour
1/4 cup unsweetened cocoa powder
1 teaspoon instant espresso powder, optional
1 teaspoon baking soda
1/4 teaspoon salt
1 heaping cup of M&M’s candies, divided

Preheat oven to 350. Beat butter and sugars for several minutes, until light and fluffy. Add egg and vanilla, beat until combined.

In a separate bowl whisk flour, cocoa powder, espresso powder, baking soda and salt.

Add dry ingredients to butter mixture and beat until just combined. With a rubber spatula or wooden spoon, stir in half a cup of M&M’s.

Drop dough by the heaping tablespoon (I used a 1 1/2 T scoop) onto a greased or lined cookie sheet, leaving a couple inches in between for spreading. Lightly press the remaining M&M’s onto the tops of the dough mounds.

Bake for 9-11 minutes until the cookies are just barely done around the edges and slightly soft in the center.

Cool completely on the baking sheet.

SEE ALSO: SOFT AND CHEWY M&M COOKIES
m&m cookie 3


Chewy No-Bake Granola Bars

granola bars 1
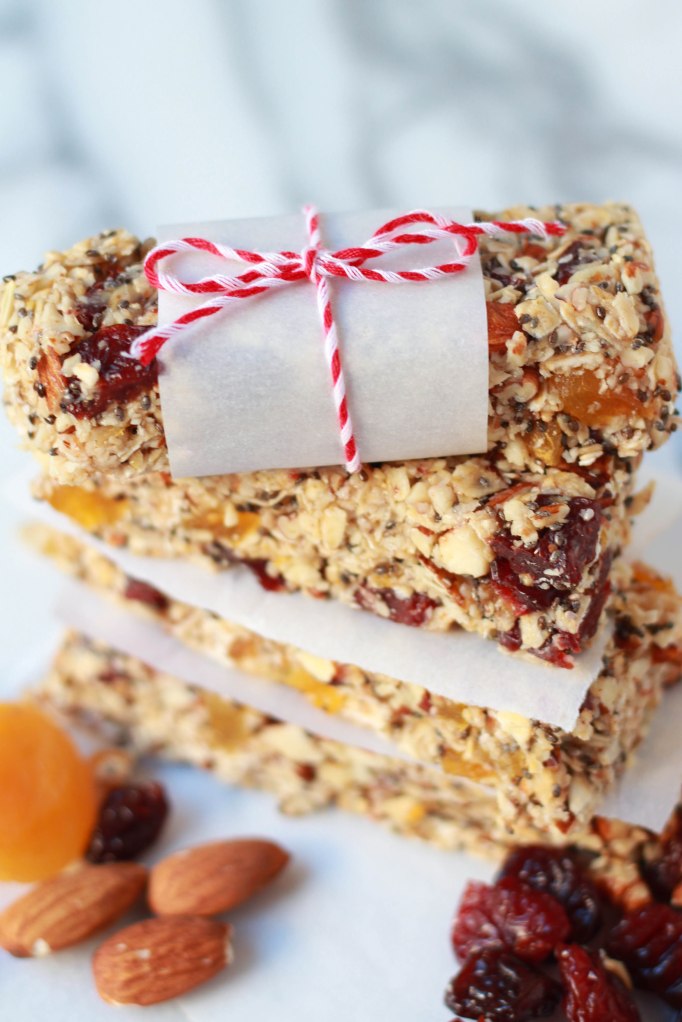
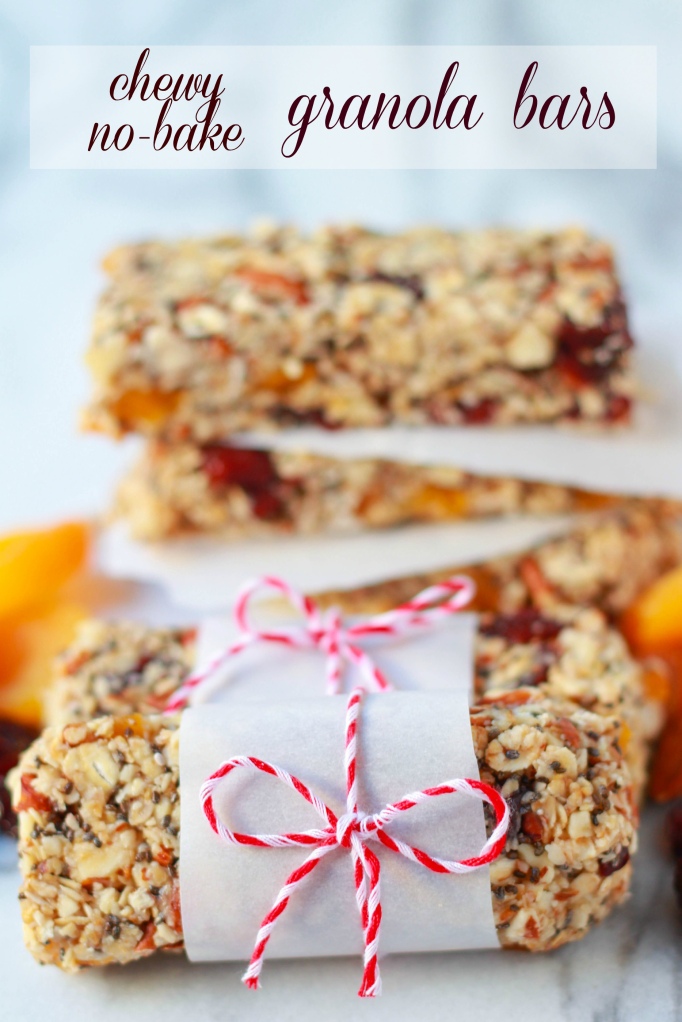
These granola bars are not going to win any beauty contests. To be honest, we jokingly call them bird seed bars for their slight resemblance to bird seed. Yum, right?! 😉 But trust me, they are very tasty. Please know that I wouldn’t share a recipe with you that looks and tastes like bird seed. These are sweet, chewy, crunchy and nutritious. Even my super-picky, sweets-loving toddler devoured them. These bars come together quickly, but you will need to plan ahead because they need a few hours in the fridge to set before they can be cut. In addition to eating these  in bar form, they are also great crumbled into a bowl of yogurt.

You can go in a lot of different directions with this recipe. Use whatever nuts you like best and whatever dried fruit you have on hand. You can even add shredded coconut or chocolate chips. I made this batch with almonds, dried cherries and dried apricots. The important thing to keep in mind is that you need to maintain the dry ingredient to wet ingredient ratio as it is below so that the bars will hold together. For example, if you want to mix in something that’s not included in the original recipe, like chocolate chips, you’ll need to reduce the amount of dried fruit or nuts to compensate for the amount of chocolate chips you’re adding (reduce nuts to 1 cup and add 1/2 cup chocolate chips). Here are a few flavor combinations that I hope to try:

-Oatmeal raisin cookie: 1 1/2 cups toasted pecans, 1 cup raisins and a dash of cinnamon

-Pistachio, apricot and dark chocolate: 1 cup pistachios, 1 cup dried apricots, 1/2 cup dark chocolate chips

-Almond, cranberry and white chocolate: 1 cup almonds, 1 cup dried cranberries, 1/2 cup white chocolate chips
granola bars

Chewy, No-Bake Granola Bars
Makes 10 granola bars

1 1/2 cups nuts (I used whole raw almonds)
2 cups old fashioned oats
1 cup chopped dried fruit (I used cherries and apricots)
2 tablespoons chia seeds
1/4 teaspoon salt
1/4 cup plus 2 tablespoons honey
3 tablespoons coconut oil
1/4 teaspoon pure vanilla extract

Add half a cup of nuts and one cup of oats to a food processor. Process until fine and all pieces are smaller than a pea. Dump into a large bowl. Roughly chop the remaining cup of nuts and add to the bowl. Add the remaining cup of oats, dried fruit, chia seeds and salt to the bowl and mix well.

In a small saucepan, heat the honey and coconut oil over medium heat. After several minutes the  mixture will begin to foam. Simmer for an additional 30 seconds and remove from the heat. Stir in the vanilla extract and pour the liquid over the dry mixture. Mix thoroughly until all the oats/nuts have been evenly coated. If you need to, get in with your hands and make sure it is mixed really well.

Line an 8×8 pan with plastic wrap, leaving a couple inches of overhang. Dump the mixture into the pan and evenly spread it out. Using the back of a spatula or measuring cup, press the mixture down very, very firmly. This will help the bars stay together. Cover the top with more plastic wrap and refrigerate for at least 4 hours, or until firm.

Cut into bars and store in the fridge.

Recipe adapted from Iowa Girl Eats

Healthy Beef and Sweet Potato Chili

chili 1
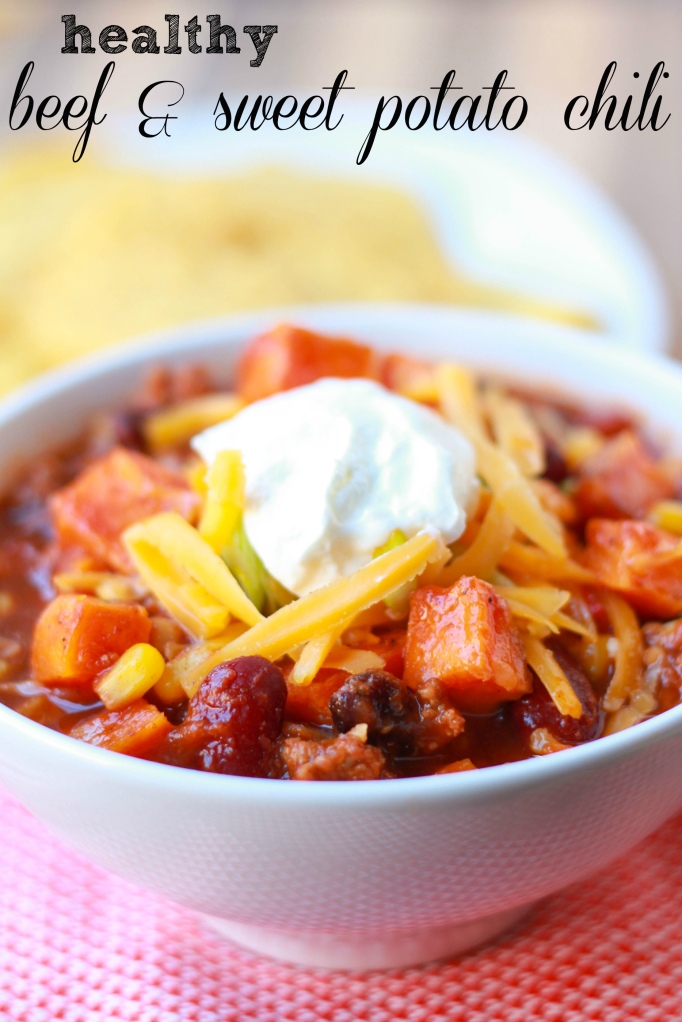
This recipe is both healthy and hearty, which are two things you don’t often see together. In an attempt to lighten up my normal chili recipe, I reduced the amount of ground beef and added sweet potato, and I ended up with something just as good as the original. The whole pot of chili is made with only 1/2 a pound of lean ground beef, but it still has the meaty taste and texture that many chili fans are fond of. I added roasted diced sweet potatoes to help the chili maintain it’s heartiness. Not only does this add a nutritional punch, but the sweet, tender potatoes are the perfect balance to the rich and spicy flavors in the chili. This meal is perfect for a chilly day and it’s comfort food that you don’t have to feel guilty about. Score!

For me, the best part of eating chili is the garnishes. Avocado and sour cream are my two favorites. I’ve listed others below, just remember that if you’re trying to eat light, they will add some extra fat/calories to your dish, so don’t go overboard. 😉 As always, feel free to make changes to this recipe to make it suit your tastes. The bell pepper can be omitted, the beef can be replaced with ground turkey, you can skip the beans, add other veggies, etc. Enjoy!
chili 3
Healthy Beef and Sweet Potato Chili
Makes 5 generous servings

2 medium/large sweet potatoes, peeled and diced into 1/2 inch pieces
extra virgin olive oil
salt/pepper
1/2 pound lean ground beef
1 small onion, chopped
1 small bell pepper, chopped
2 cloves garlic, minced
3 teaspoons chili seasoning (I use Chili 3000 from Penzey’s Spices and I highly recommend it. If you don’t have a chili seasoning mix, you can make one. See recipe below)
1 – 15 oz can tomato puree or tomato sauce
1 heaping tablespoon tomato paste
1 1/2 cups low sodium beef broth
1 cup water
2 – 16 oz cans of kidney, black or pinto beans, drained and rinsed
3/4 cup frozen corn kernels
Optional garnishes: grated cheese, green onions, sour cream/greek yogurt, crushed up tortilla chips, avocado, cilantro

Chili seasoning:
2 teaspoons chili powder
1/2 teaspoon ground cumin
1/4 teaspoon smoked paprika or ground chipotle
1/4 teaspoon dried oregano

Begin by roasting the sweet potatoes. Preheat oven to 400. On a baking sheet, toss diced sweet potatoes with a tablespoon of olive oil and a couple pinches of salt and pepper. Mix with your hands until the sweet potatoes are evenly coated. Place in the preheated oven and roast for 20-25 minutes, until cooked through, tossing with a spatula once or twice during the baking time. Once cooked, set aside.

Add the ground beef to a large pot over medium-high heat. Cook for about 5 minutes, breaking the meat into small pieces with a wooden spoon. If the meat appears dry, add a few drizzles of olive oil to the pot. Add the onion and bell pepper and cook 5 minutes more, stirring occasionally and adding another drizzle of olive oil, if necessary. Add the garlic, chili seasoning and a healthy pinch of salt. Stir to combine. Cook for one more minute, then add the tomato sauce, tomato paste, beef broth, water and beans, stirring to combine. Allow the mixture to simmer uncovered over medium heat for 20 minutes, stirring occasionally. After 20 minutes, stir in the corn and cooked sweet potatoes. Allow the mixture to simmer for another 5 minutes. Taste and adjust the seasonings accordingly. You can also add more water or beef broth if you want to thin it out a little.

Serve with the garnishes suggested above.

Healthy Recipe Roundup

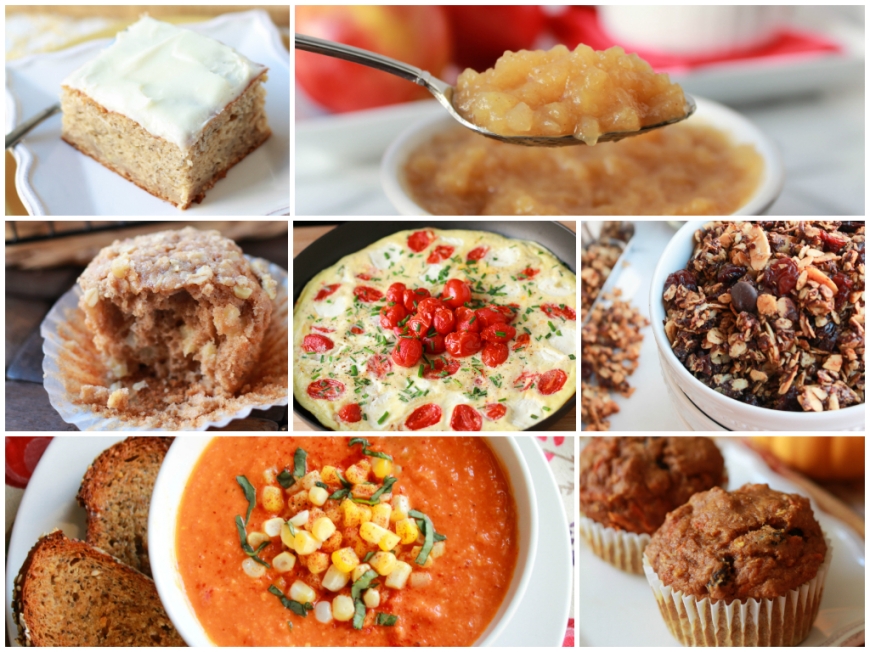
Happy New Year, friends! Since it’s the start of a new year, I’m sure some of you have resolved to eat healthier or at least get back on track after holiday indulgences (me included!). I wanted to share some of my favorite healthy* recipes with you, but since this little blog of mine has only been around since August, my own collection of healthy recipes is not too large. So, I’ve included some of my favorite healthy eats from other blogs/sources. I hope you find something that you like. Happy healthy-eating!
collage 2
*I know that everyone’s definition of healthy is different. I consider the recipes below “healthy” because they include fruits, vegetables, whole grains, heart healthy fats and/or lean protein. If any of the recipes below call for heavy cream, I usually substitute with chicken stock or low-fat milk, and if they call for cheese I usually reduce the amount or leave it out completely.

Sweets
Chunky cinnamon applesauce
Cherry, dark chocolate quinoa granola
Pumpkin carrot apple muffins
Whole wheat apple cinnamon muffins
Light banana snack cake
Baked oatmeal

Savory (meat free)
Ricotta and roasted tomato frittata
Roasted tomato and sweet corn soup
The reset button salad
Pea and basil soup
Couscous stuffed peppers with basil sauce
Creamy fennel and greens soup
Broccoli and barley salad

Savory (with meat)
Turkey meatloaf with feta and sun-dried tomatoes
Shrimp skewers with paprika glaze (omit sausage and add veggies)
Chicken, artichoke and cannellini bean stew
Turkey sloppy joes

Apple Dumplings

apple dumplings
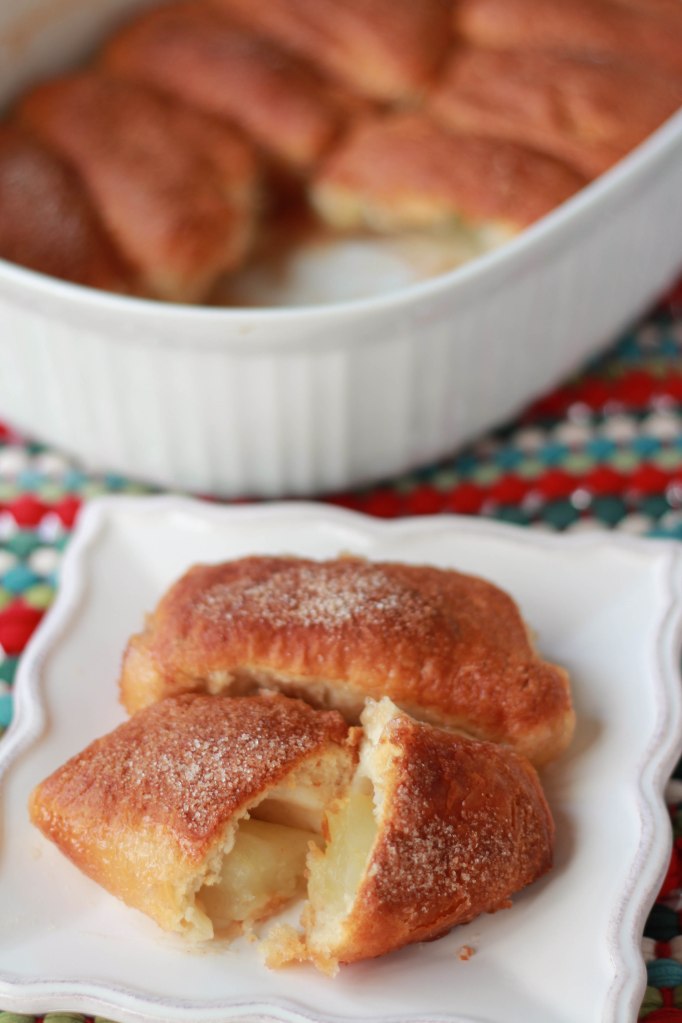
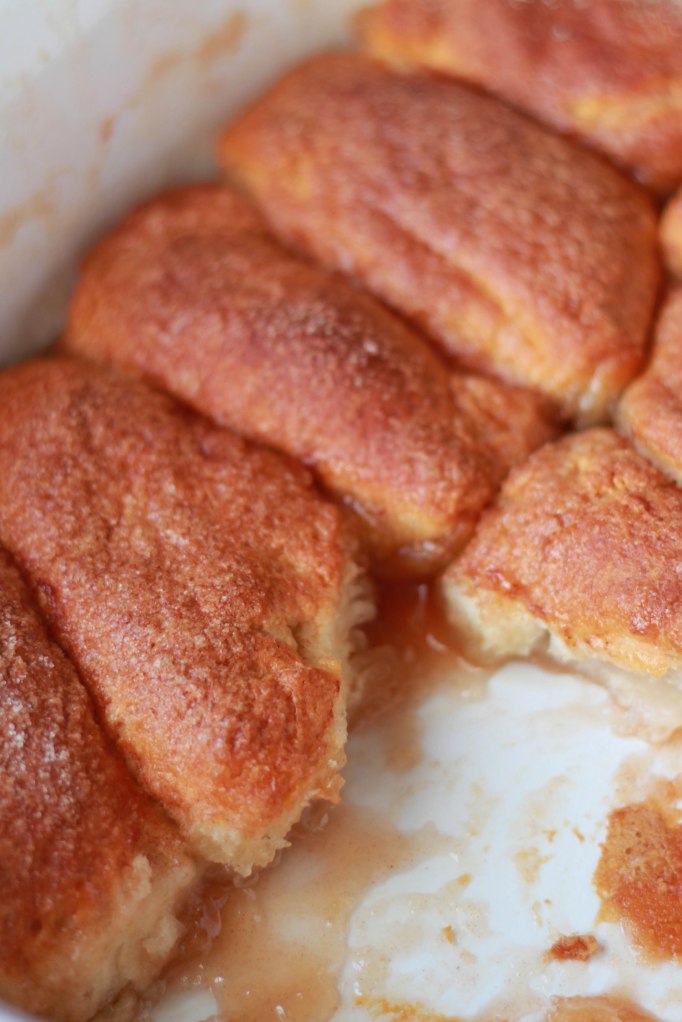
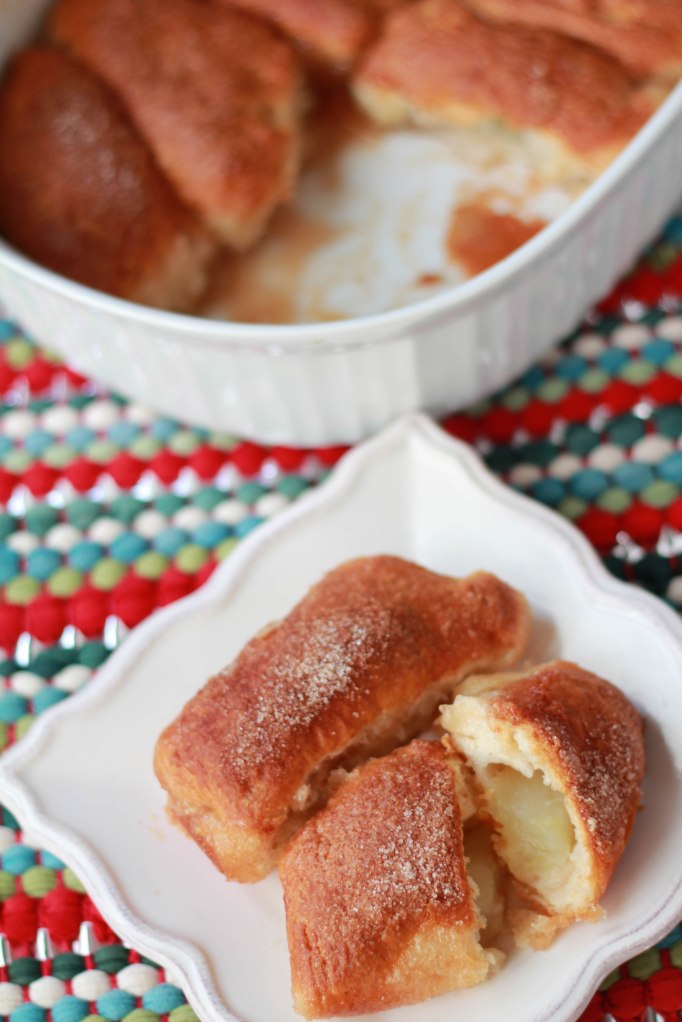
If you’re looking for the perfect Christmas morning breakfast, here it is. Simple, sweet and fragrant apple dumplings. They will make your house smell amazing and they will warm you up on a chilly winter morning.

This was the first time I have ever made apple dumplings and they were a success! I consider this a shortcut recipe, since canned biscuits are used in place of homemade pastry and, although I usually go the homemade route with my recipes, this one was delicious as is. These dumplings come together quickly and the ingredient list is fairly small, but the flavors and presentation are impressive. The dumplings are made by wrapping an apple slice in a buttermilk biscuit. The wrapped slices are placed in a baking dish and then smothered in a sweet, buttery, vanilla sauce. The sauce keeps the dumplings moist and cooks down into a gooey, lusciousness that you will want to devour from the bottom of the pan. It’s crazy how such a simple list of ingredients can create something so delicious! I served these as is for breakfast, but you could also serve them with vanilla ice cream or lightly sweetened whipped cream for dessert.

apple dumplings 3

apple dumplings 2
Apple Dumplings
Makes 16 dumplings

2 granny smith apples
1 cup granulated sugar, divided
1 stick butter
3/4 teaspoon pure vanilla extract
8 canned buttermilk biscuits
2 teaspoons ground cinnamon

Preheat oven to 375.

Peel, core and slice each apple into 8 slices.

Split each biscuit horizontally into two layers. Flatten out each piece of biscuit until it’s big enough to hold an apple slice (about palm size). Place an apple slice in the middle of the dough and fold the dough over. Pinch the edges of the dough closed to completely cover the apple slice. Place the wrapped apple, seam side down, in a 9×13 baking dish. Repeat with the remaining apple slices. You should have 16 in total.

In a medium saucepan, combine 1 cup water, 3/4 cup sugar and butter. Bring to a boil over medium heat and boil for 2 minutes, stirring occasionally. Remove from the heat and stir in the vanilla extract. Pour the liquid evenly over the wrapped apple slices.

Combine the remaining 1/4 cup sugar with 2 teaspoons of cinnamon and sprinkle over the tops.

Bake for 30-35 minutes, until puffed and golden brown. Serve warm.

Recipe adapted from Trisha Yearwood

Double Vanilla Marshmallows

marshmallows 1
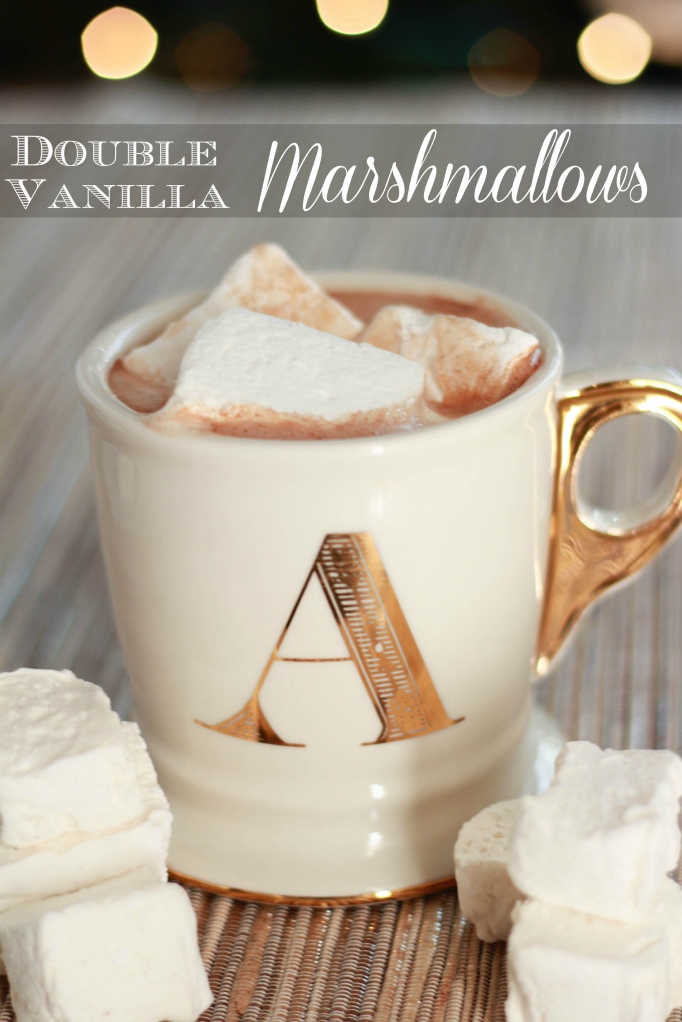
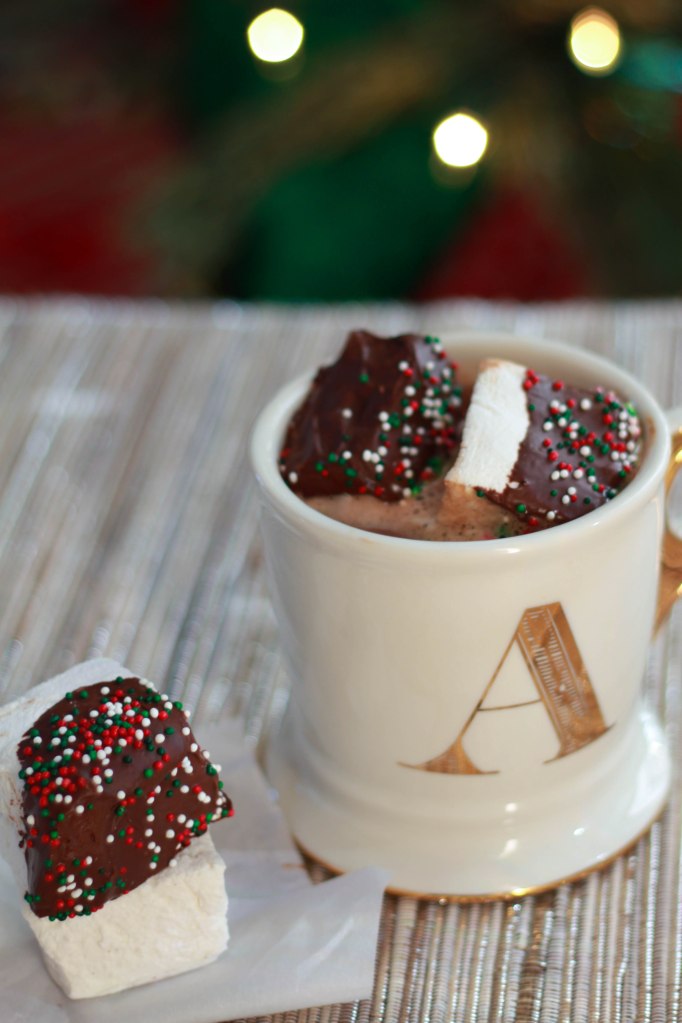
Several years ago we started the tradition of having homemade marshmallows and hot chocolate on the night we decorate our house for Christmas. I typically only make homemade marshmallows this one time of year, so they are extra special. The fun thing about making marshmallows is that you can flavor them however you choose (peppermint! chocolate! vanilla!) and you can cut them into any shape or size you like. I love cutting them into big squares and floating them in a mug of hot chocolate. You could even use cookie cutters to get more creative. This year I opted for standard vanilla marshmallows, but I wanted to up the vanilla flavor. These marshmallows have a vanilla bean and vanilla extract in them. They’re double the vanilla flavor and they have beautiful black specks in them that you get from a vanilla bean. These are delicious on their own or in hot chocolate. Oh, and if you decide to dip a few in melted chocolate, you will not regret it. Trust me. 😉
marshmallows 2
Double Vanilla Marshmallows
Makes one 8.5×11 or 9×13 pan

1 cup water, divided
3 packets unflavored gelatin
1 whole vanilla bean
1 1/2 cups granulated sugar
1 cup light corn syrup
1/4 teaspoon salt
2 teaspoons pure vanilla extract

Place 1/2 cup water in the bowl of a stand mixer fitted with the whisk attachment. Sprinkle the gelatin over the water and give it a whisk. Scrape the seeds from the vanilla bean into the gelatin mixture and give it another quick whisk. Set aside while you make the sugar syrup.

In a medium saucepan, combine remaining 1/2 cup water with the sugar, corn syrup and salt. Bring to a boil over medium heat. Once the sugar dissolves, give it a quick stir and increase the heat to medium-high. Boil until a candy thermometer reaches 240 degrees.

With your mixer on low speed, carefully pour the hot sugar  into the gelatin mixture. Once it has all been added, increase the speed to high and whip for 10-15 minutes, until bright white and fluffy.

Add the vanilla extract and whisk to thoroughly combine.

Sprinkle powdered sugar liberally over the bottom of an 8.5×11 or 9×13 pan (this will keep the marshmallows from sticking to the bottom of the pan). Pour the marshmallows into the pan and smooth the top. Sprinkle the tops with more powdered sugar.

Let the marshmallows sit out uncovered overnight. This will allow them to dry slightly. When you are ready to cut them, you can do so with a sharp knife or cookie cutter that has been dipped in powdered sugar.

Recipe adapted from Baked Bree